This example uses the Radisson Red in Oslo but is very similar for almost all hotels
How does the camera work?
The virtual tour is created using a specialist camera which is controlled remotely to capture 360-degree images and measurements. The images are eventually uploaded and processed using AI to produce the finished virtual tour.
When an image capture has started, the camera slowly turns 360-degrees on its tripod over about 30 seconds before transferring the data to the controlling device. We then move the camera a couple of metres and capture the next image.
As the images are captured, the infra-red sensors also capture measurements to build a 3D model. The software compares the new image against the previous images to align it and place it within its 3D map. Therefore, all images within the virtual tour must have a previous image as a reference point to allow them to be properly aligned.
When joining different floors together within the same virtual tour, stairways need to be used to allow the camera to understand where it is.
What is a ‘standalone’ image?
A ‘standalone image’ is one that is not directly connected to or placed within an area of the virtual tour. For example, in the case of a hotel, several bedrooms are usually included as standalone images to provide examples of the different types of room but they aren’t part of the core virtual tour. This means they don’t need to ‘join’ to a previous scan and can be captured at any time.
Other common standalone images for hotels include alternative setups of conference rooms and exterior views
Can we have people walking about whilst the images are being captured?
In principle yes, the tour will still work, however, it’s better to have areas as empty of people as possible, or ideally the area should be completely empty of people. For example, the lobby can be done in the early morning before breakfast, but outdoors shots that need to be done during the day will often have cars driving past or people walking through the picture
Does it matter where the virtual tour capture starts within a building?
The virtual tour capture can begin anywhere within a building as this doesn’t affect the start point within the finished virtual tour. However, the availability of spaces needs to be taken into consideration. With the example of a hotel, it’s most common to start with the lobby and reception as these are the most difficult places to capture due to hotel guests
What are the normal order of capture and timings for a hotel?
This example uses the Radisson Red in Oslo.
- Day 1
- 4.30am to 6.30am (before breakfast) – virtual tour capture of reception, lobby, breakfast area and stairs leading down to the lower ground floor
- 8am onwards – virtual tour capture of lower ground floor including gym and conference rooms
- Middle of day – capture exterior standalone images
- Day 2
- 9am onwards – create standalone images of bedrooms when they become available
- Midday onwards – capture meeting rooms in alternative setups as standalone images
- Day 3
- Upload to the cloud for processing
- Day 4 onwards
- Editing
What does the finished virtual tour look like?
How do I navigate the tour?
The controls are different depending on whether you are on mobile or a computer:
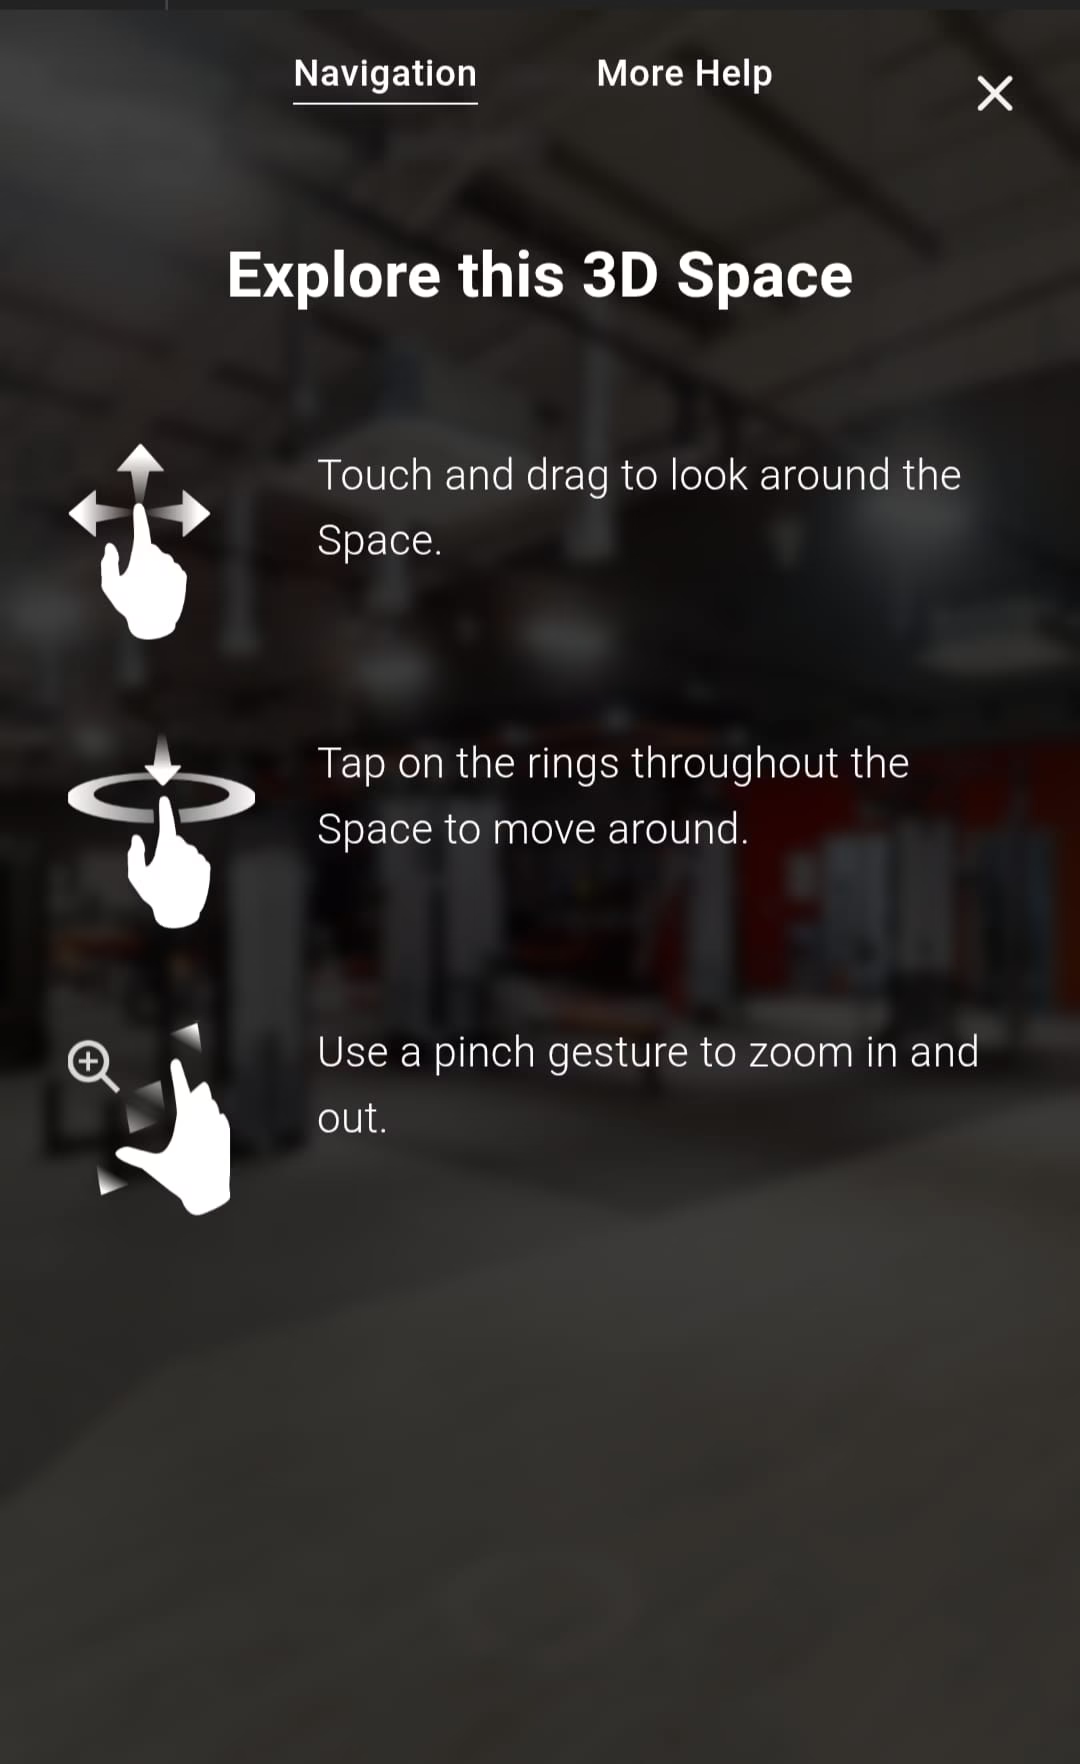
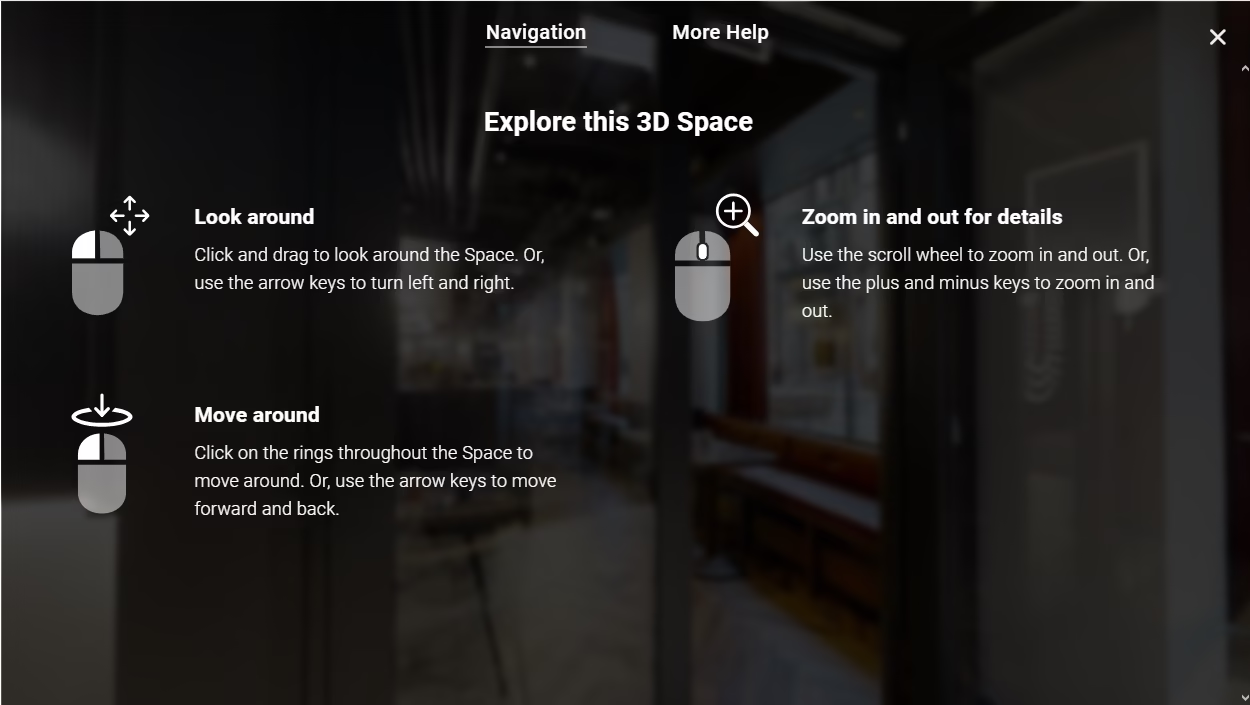
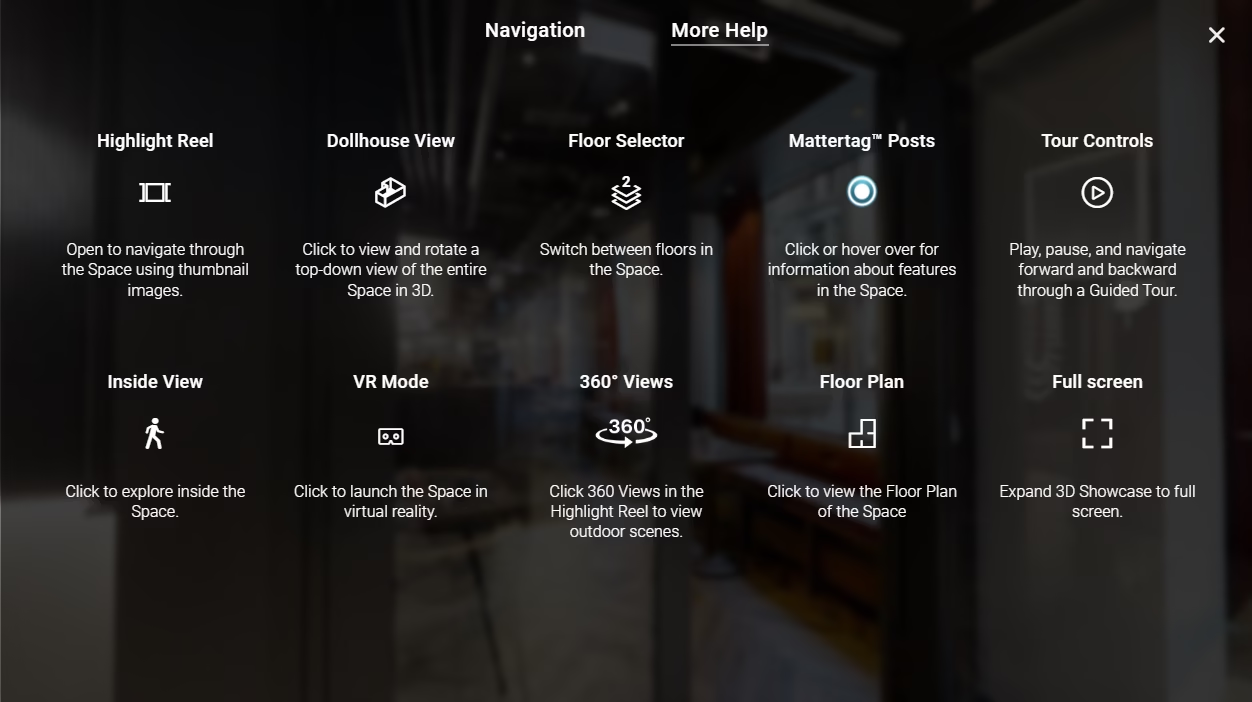
What do the symbols within the virtual tour mean?
Not all the symbols will be available on all virtual tours as some are disabled. Generally, they mean the following:
What are the main virtual tour editing options?
In the above example you will see:
- The start point for for virtual tour has been specified. In this case we used the lobby looking towards the bar. This is affected by the order in which the images were captured
- Information pop-ups have been added. This example is the bar menu. Click the red information point to view. These can contain YouTube videos, links, text or images
- There is a ‘highlight reel’ at the bottom of the virtual tour. This takes the viewer on a virtual guided tour to show the highlights of the hotel, the bedrooms, and the conference rooms. Press the ‘play’ icon to start the tour or click on an individual image to jump straight to it
- Occasionally if needed we have an option to ‘blur’ certain things within the tour. This is most common for faces or prices which have been unavoidably captured
- Some of the images can be disabled within the tour. This is handy if you need to join two areas but would prefer people not see the part in between, for example, long corridors where the viewer would instead jump from one end to the other